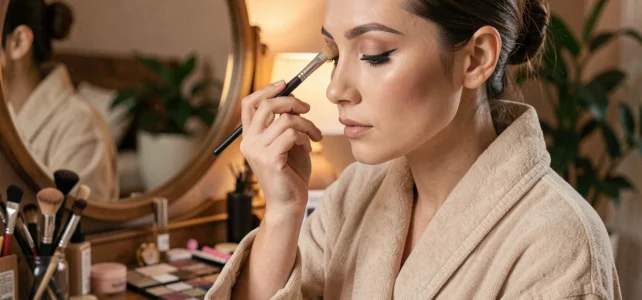
Applying eyeshadow without it creasing in the fold after an hour, drawing an eyeliner line that doesn’t smudge: when starting eye makeup, these seemingly simple actions quickly become frustrating. The problem rarely lies with the product. It almost always comes from the preparation of the eyelid and the order in which each layer is applied.
Oily, sensitive, or drooping eyelids: adapt the base above all
The majority of tutorials assume that the eyelid is smooth, dry, and well-defined. If yours shines by mid-morning, if it reddens at the slightest touch, or if the fold droops onto the mobile eyelid, standard techniques won’t work.
For eyelids that transfer eyeshadow into the fold, a primer (setting base) changes everything. Apply a thin layer on the mobile eyelid and let it dry for a few seconds before applying the eyeshadow. The primer creates an adhesive surface that prevents sebum from dissolving the pigments.
On a sensitive eyelid, limit friction. Opt for soft-bristled brushes and pat the product instead of sweeping it back and forth. Also, avoid drawing a line on the waterline (the inner edge of the lower eyelid): this area is very reactive, and the pencil often causes irritation there.
For a drooping eyelid, the visual reference changes. If you apply dark eyeshadow only on the mobile eyelid, it disappears as soon as you open your eyes. Place the dark color slightly above the fold, keeping your eyes open in front of the mirror. This is the only way to ensure that the gradient remains visible.
Finding these detailed steps in good tips for eye makeup helps build a routine suited to one’s morphology rather than replicating a single model.
Eyeshadow for beginners: the thin layers method
Have you ever noticed that your eyeshadows seem dull or powdery after application? The common reflex is to load the brush to get more color. This is exactly what creates clumps and pigment fallout under the eye.
It’s better to apply several thin layers than one thick layer. Take a small amount of product, tap the brush to remove the excess, and then apply the eyeshadow with small presses on the eyelid. If the intensity isn’t enough, add a second layer on top.
Choosing the right tools for the eyes
The brush is just as important as the product. Two shapes are enough to get started:
- A flat, dense brush to apply color on the mobile eyelid, as it deposits pigment evenly without dispersing the powder.
- A “blending” brush (rounded shape, longer bristles) to blend the transition in the eyelid fold and avoid harsh lines.
- A small angled brush if you want to apply dark eyeshadow as eyeliner along the lashes, a softer alternative to a liquid line.
Clean your brushes regularly. A brush loaded with eyeshadow residue mixes colors unpredictably and can irritate a sensitive eyelid.
Eyeliner and wing: achieving the line without touch-ups
The eyeliner line is where most beginners give up. The hand trembles, the line thickens to compensate, and the result is asymmetrical.
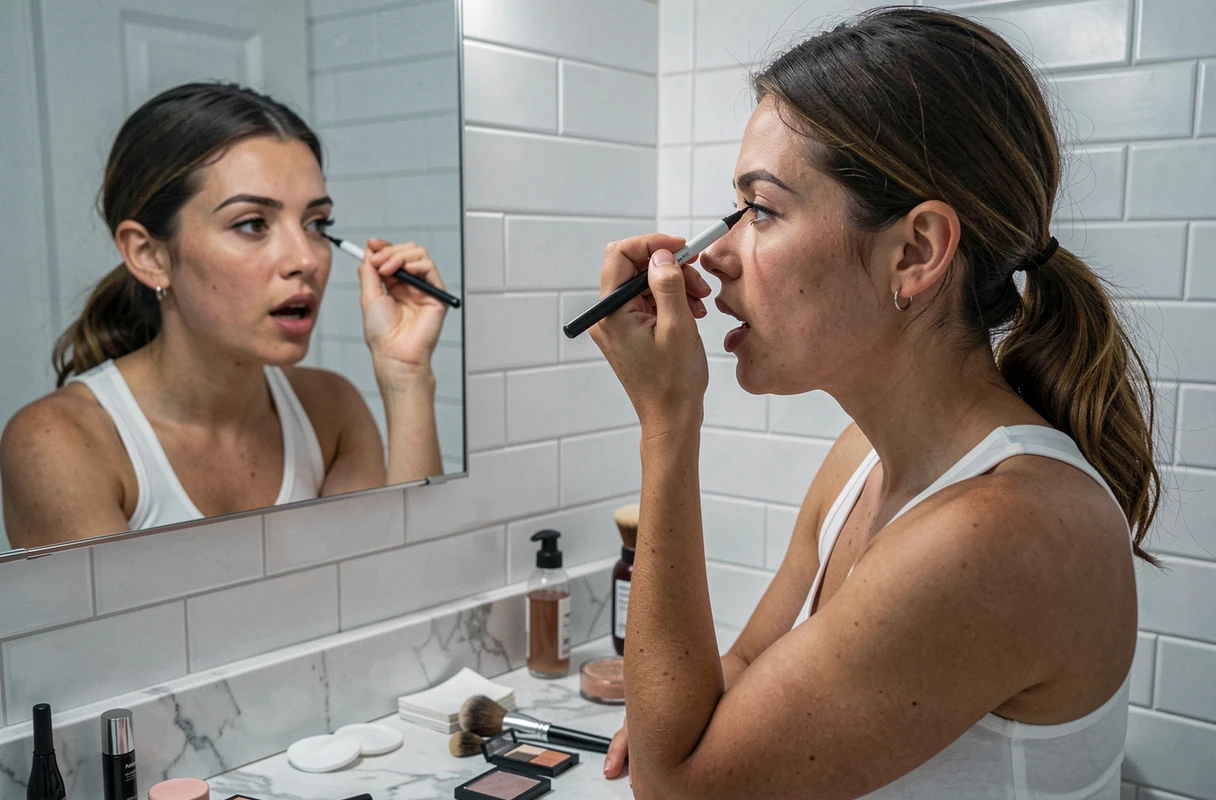
Start with a felt tip rather than a liquid brush. The felt tip offers more control because its tip remains rigid. First, draw small short lines along the root of the upper lashes, then connect them. Trying to draw a continuous line in one stroke requires a precision that even professional makeup artists don’t always use.
The wing at the outer eye: a simple guide
For the famous wing, place a piece of tape diagonally from the outer corner of the eye to the end of the eyebrow. It serves as a guide to achieve a sharp angle. Draw the outer edge of the wing against the tape, then fill in towards the inside connecting to the line drawn on the eyelid.
Remove the tape before the liner is completely dry to avoid pulling off the line. This trick removes the stress of symmetry: both sides follow the same angle mechanically.

Natural eye makeup: fewer products, more technique
A natural look doesn’t mean no makeup. It relies on a limited choice of shades and careful blending.
Two eyeshadows are enough: a neutral shade close to your skin color (beige, light taupe, nude pink) over the entire mobile eyelid, and a slightly darker shade in the crease to create depth. The transition between the two shades should be invisible to the naked eye. It’s the blending that makes the result, not the color.
Add a thin line of brown pencil (not black) along the upper lash line. Blend it slightly with a cotton swab or a small brush. The brown pencil gives definition without hardening the look.
For mascara, one coat is enough for a natural makeup look. Start at the root of the lashes and lift in a light zigzag to separate each lash. Two overlapping coats create clumps, which negates the desired effect.
- Setting base on the mobile eyelid (even for a discreet look, it prolongs wear).
- Light eyeshadow over the entire eyelid, medium eyeshadow in the crease, blending with a rounded brush.
- Brown pencil along the lash line, blended immediately.
- One layer of mascara starting from the root.
Eye makeup gains clarity when following a precise order and resisting the urge to add more. Each additional layer should have a visible reason, otherwise it weighs down the result. It’s better to finish in two minutes with three mastered products than to spend fifteen minutes correcting haphazard layers.